如何发布NPM模块(typescript)
1. 如何发布模块(typescript)
1.1. 准备
1.2. 开始
1.2.1. 合理的package.json
1 | { |
1.2.2. 下面逐个字段解释
homepage
指定项目的主页地址,如果没有一般可以使用项目的 GitHub 地址。
bugs.url
指定项目的 Bug 反馈地址,一般可以用项目的 GitHub Issue 地址。
repository.url 和 repository.type
指定项目的源码仓库地址,可以指定是 git/cvs/svn。
main
指定 Node.js 中 require(“moduel-name”) 导入的默认文件。
keywords
指定项目的关键词,合理设置有利于让他人发现你的项目。
engines
设置项目对引擎的版本要求,比如 node、electron、vscode 等。
types 和 typings
设置项目内置的 TypeScript 模块声明文件入口文件。
1.2.3. scripts 字段
scripts 字段作为单独一节解释,因为它是用于构建控制和发布控制的工具。
scripts.build
这个允许使用 npm run build 命令直接编译 TS 代码。
scripts.lint
这个允许使用 npm run lint 命令调用 TSLinter 对代码进行格式检查。
scripts.clean
这个允许使用 npm run clean 命令清理编译结果。
scripts.rebuild
这个允许使用 npm run rebuild 命令清理编译结果然后重新生成。
scripts.prepare
这个不是给我们用的,而是 NPM 提供的钩子,这个命令会在执行 npm publish 的时候被调用。因此可以用这个钩子进行发布前构建。
1.2.4. Git设置
Git 应当使用 .gitignore 文件忽略那些编译结果,以及 NPM 依赖的包文件
1 | /node_modules/ |
1.2.5. NPM 包文件设置
NPM 打包发布的时候,会默认把当前目录下所有文件打包。但是 Git 仓库中,有些东西是不需要
发布到 NPM 的,因此我们需要使用一个文件 .npmignore 来忽略这些文件,常用配置如下
1 | /.git/ |
1.2.6. 配置 tsconfig.json
前面说了,假定 TypeScript 的代码在 sources 目录下,编译的输出目录则为 dist。那么需要
在 tsconfig.json 里面通过 rootDir 和 outDir 选项指定。
其次,为了让其它 TypeScript 程序能正常使用你的包,你还应该设置 declaration 字段为true,使之自动生成 *.d.ts 文件。此处我们假定模块的入口是 index.js ,因此你必须
实现一个 index.ts 文件,作为模块的入口。
另外,如果要实现 TypeScript 源码调试,则需要开启 sourceMap 选项,以生成源码映射
文件。
1.2.7 发布
npm login
通过命令
npm login登陆注册的npm账户,密码及注册邮箱(邮箱必须通过验证方可发布)
npm publish
需要发布的npm包准备好,测试完毕后可以通过
npm publish进行发布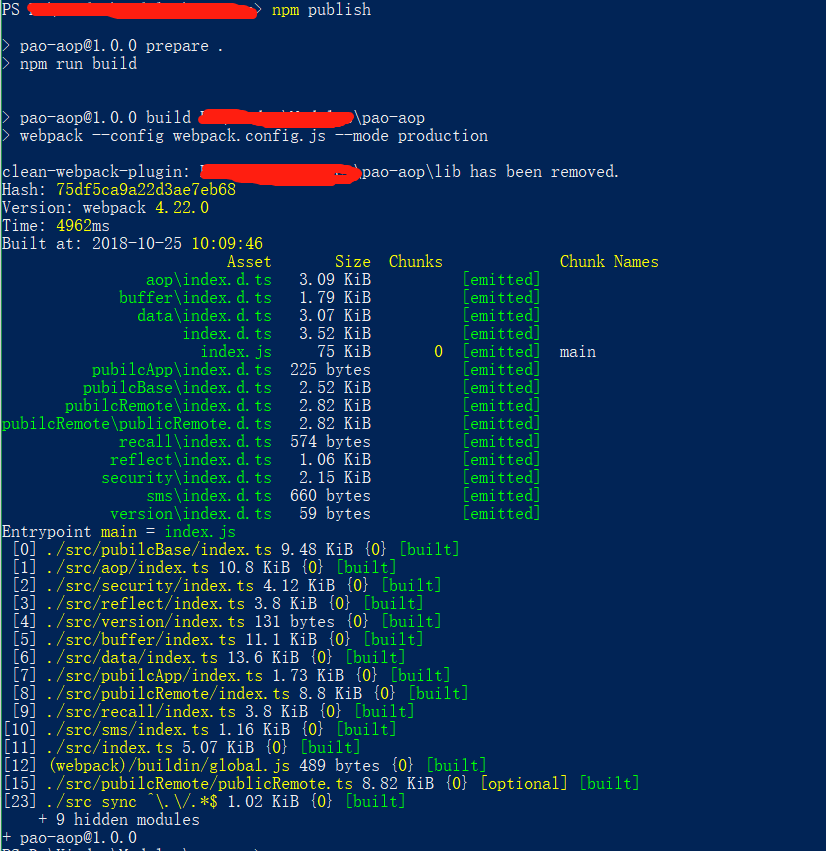
1.3. 维护
1.3.1. 版本号维护
正常版本控制
1 | npm version v0.1.0 # 版本号变成 0.1.0,即显式设置版本号。 |
创建“预发布版本”,也就是非稳定版本
1 | npm version v1.2.3 |
注意
version 命令默认会给你的 git 仓库自动 commit 一把,并打一个 tag。如果不想它动你的
git 仓库,你应该使用 –no-git-tag-version 参数
npm --no-git-tag-version version patch
可以使用如下 NPM 设置彻底禁止它
1 | npm config set git-tag-version false # 不要自动打 tag |
1.3.2. 使用标签
以 TypeScript 为例,通过 npm info typescript 可以看到 dist-tags 字段有着五个
值,分别是 latest, beta, rc, next, insiders,这些都是 dist-tag,可以
称之为标签——你可以把它理解为 git 里面的分支。
有什么用呢?其实,我们平时用 npm install xxxxxx 的时候,是使用了一个潜在的选项tag = latest,可以通过 npm config list -l | grep tag 看到。
因此实际上是执行了 npm install xxxxxx@latest。也就是安装了 latest 这个标签
对应的最新版本。
不同的标签可以有不同的版本,这就方便我们发表非稳定版本到 npm 上,与稳定版本分开。
默认是发布到 latest 标签下的。
例如 npm publish --tag dev 就可以发布一个版本到 dev 标签下。